Sales only tell half your story. Rent, electricity, supplies, and repairs decide whether the month actually made money. Record each bill as an expense and you get a clear picture of spending, a reminder of what is unpaid, and the paperwork you need at tax time.
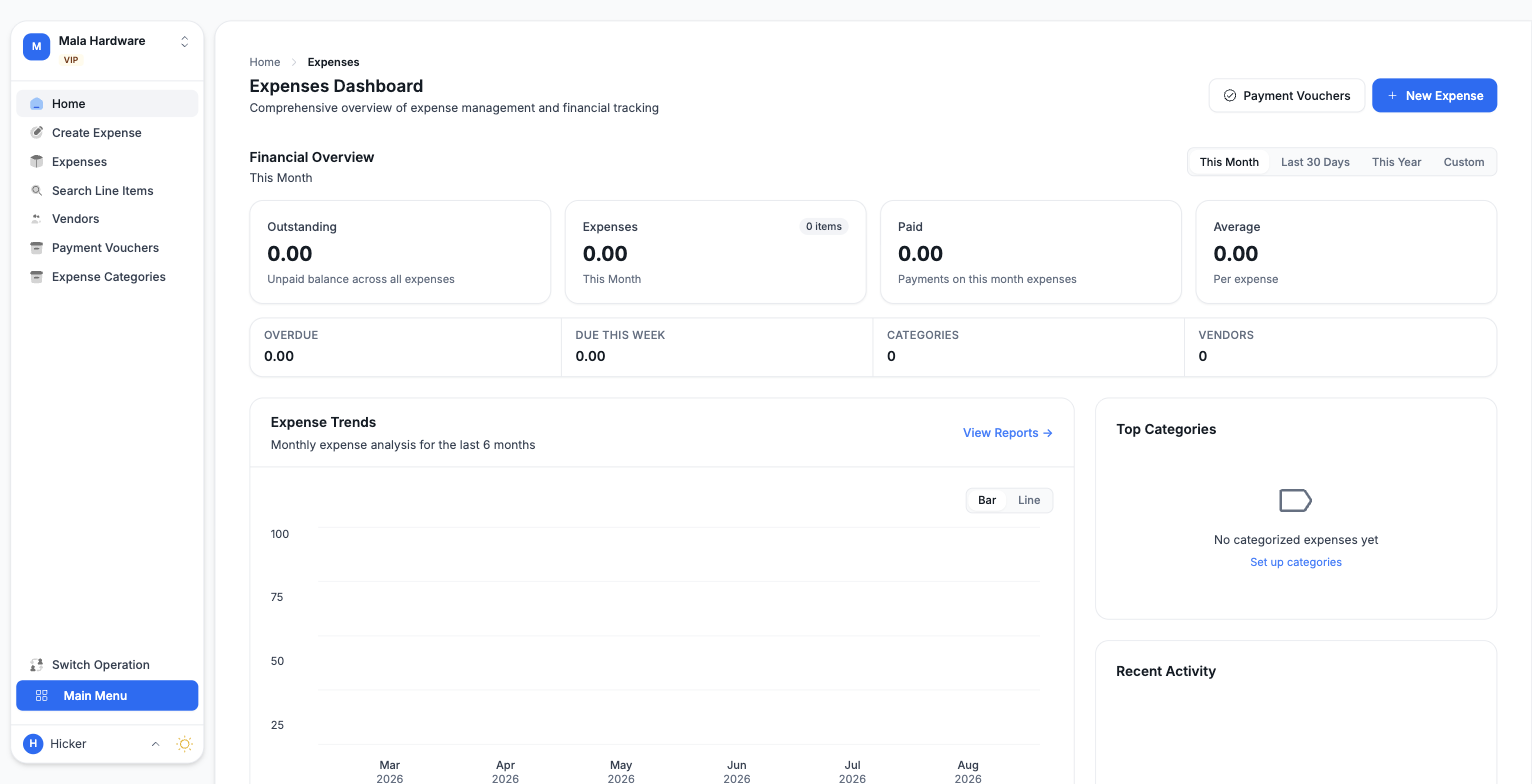
From the Main Menu open Expenses. The Home page shows your spending at a glance: totals for the period you choose (This Month, Last 30 Days, This Year, or your own dates), how much is paid, your unpaid balance, a trends chart of the last six months, your top categories, and a Pending Payments table that colors each bill Overdue, Due Soon, or On Time.
Record an expense
Open Create Expense. There are two ways to fill the form.
- Scan a receipt. Drop in a photo or PDF of the bill, up to 10MB. We read it, fill in the vendor, dates, amounts, and line items, and match the category and tax for you. Anything we matched carries an Auto matched badge so you can check it. If the vendor is new, we create it when you save.
- Enter details manually. Type it in yourself when there is no receipt to scan.
Either way, review the form before saving. The date, description, category, and subtotal are required. The vendor and due date are optional but worth filling in, since the due date drives the payment reminders. Pick a tax and the tax amount is calculated for you. You can also review the individual line items from the receipt, edit them, or add your own. Press Save Expense and the receipt stays attached to the record.
Categories and vendors
Categories keep your spending organized and power the reports, so pick them with care. Manage the list under Expense Categories. Vendors are shared with Purchasing, and opening a vendor under Vendors shows every expense linked to them. If you remember what you bought but not where, Search Line Items finds the expense by the items on its receipt, for example "toner" or "cable".
Pay an expense
Open the expense from the Expenses list. Its page shows the status, Paid or Unpaid, along with the remaining balance and the full payment history.
- Press Record Payment.
- Enter the amount. Partial payments are fine, and the expense turns Paid once the balance is cleared.
- Choose the method: Cash, Card, Transfer, or Cheque. For cheques we ask for the cheque details as well.
- Press Enter Payment.
Every payment automatically creates a payment voucher, your proof of payment. Find them under Payment Vouchers, where each voucher can be printed or downloaded as a PDF, and the list can be exported to Excel.
Expenses in your register and reports
Expenses do not stay in their own corner. When a register is settled at day end, the settlement report includes a Settlement Expenses section, so money that left the drawer is accounted for during reconciliation.
In Reports, the Expense report breaks spending down by category, vendor, and trend, compares periods, and can be downloaded or exported. And when it is time to file, the Input Tax report gathers your vendor expenses alongside purchases into a ready-to-submit tax statement, so recording expenses as you go means your filing is already prepared.